How to Make a Leather Sheath for Your Knife

Every knife has two important parts on the minimum. The blade that does the cutting and the handle where the user holds it.The two work hand in hand to ensure that the knife, whatever the type or make, works as designed. However, knives need to be stored at some point after use, and unless they are folding knives, they require a sheath. There are different types of sheaths based on varying materials. Each has its own design that serves two purposes; providing a storage medium for the blade to keep it safe from the elements and for decoration nurses.
One common type of sheath is made out of leather, and that is our focus for today. We are going to look at how you can make a leather sheath on your own, their advantages, and how they compare with other types in the market. So stick to the end to gain some tips if you are a knife aficionado.
Materials and Tools
- Leather of any kind, but the heavier processed type is preferred
- A rotary cutter or another sharp and nimble knife
- A pencil or a marker
- A cardboard
- Spring clips
- Tape
- A bowl of water
- Saran wrap
- Waxed thread
- Dishtowel
- A rowel wheel
- A Groover tool
These are not standard materials that must be there; you can use the list as a template to come up with your one unique item. The goal here is to make something unique to you and not reproducing an identical sheath described from the process.
Making the Leather Sheath
With all the materials in place and a working station prepared. It is time to put your skills to the test and craft a functioning leather sheath that can provide good housing for your knife. The following are the steps you have to follow.
Step One: Sketching the Pattern
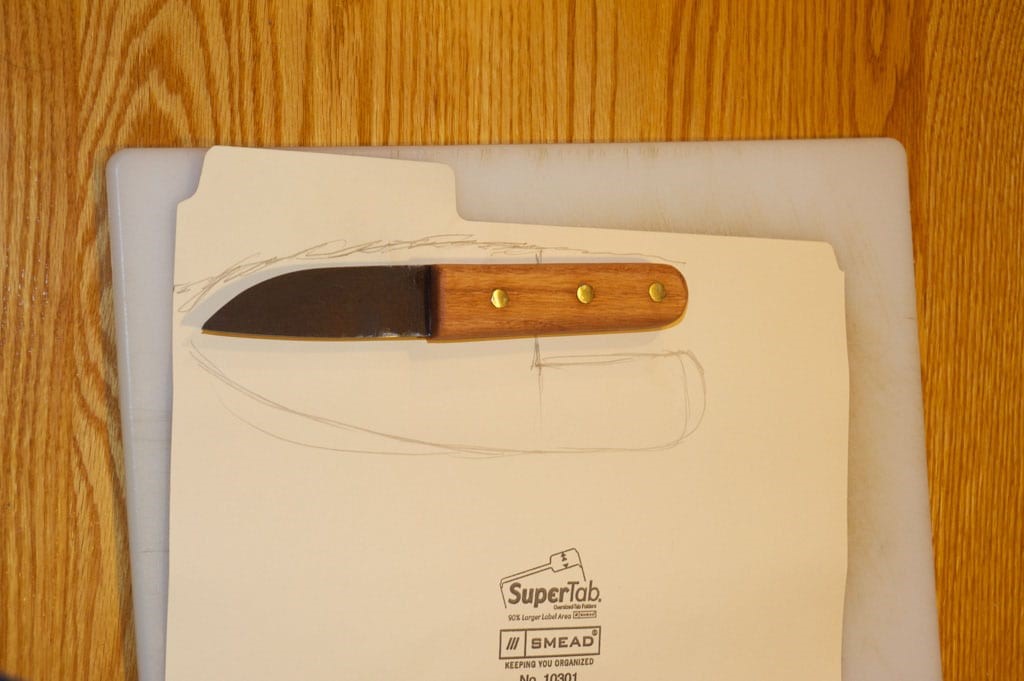
Begin by creating the blueprint. This is a clear sketch in the shape of the sheath that you want to make. It should be as near to the eventual size as possible. It doesn’t have to be prices of extra sharp. The aim here is to create clear cutting lines for the next stage. You can place the knife in question on the board and trace its outline on the leather to get something that’ll be as accurate to the real thing as possible. Make sure you leave some leeway room that will form some extra space to make sure that the knife doesn't cut the sheat to pieces every time it is stored.
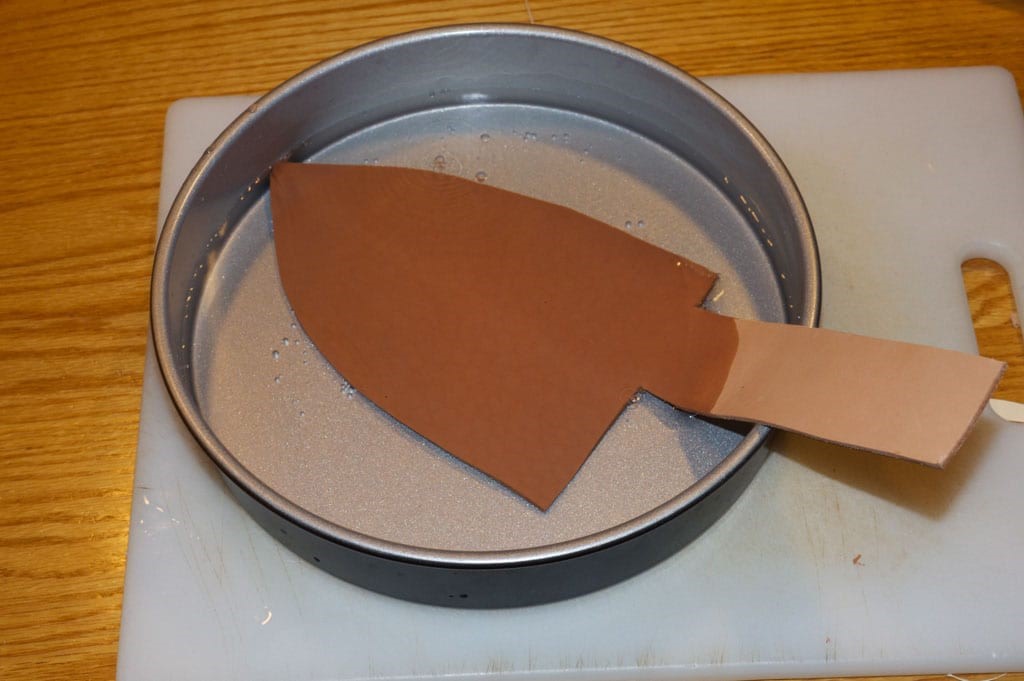
Step Two: Make the Cut-Out

With the markings properly made. Grab a pair of scissors and start cutting along the marked lines all around until you have an independent piece of leather in your hand. It should be able to fold together on the widest part to cover the blade area. Do this beforehand to ensure that the section you just cut is big enough. Once the flap of leather covers the entire blade symmetrically, keep pushing the blade to the very edge to see how much of the leather on edge is left. The extra room is very important.
Step Three: Forming the Leather
You now have the cutout ready.It is still in rudimentary form and requires some further processing to make it ideal for a sheath. Begin by immersing the sheath part of the leather in a bowl of warm water. This should cause some bubbles to emerge as the water seeps into the leather, slowly changing the color of the strip. Let it stay like that for a few minutes to make sure it is soft enough to be folded.
Remove the lather from the water once you are satisfied with the softness and place it in a dish towel to dry it, and push out the excess water. Without wasting any time, place the knife onto the piece of leather, aligning it to the shape carefully before folding it over the knife to form a pocket. Use clips to clamp both ends of the leather over the knife, and use your hands slowly to squeeze and form the shape slowly as you add the clips to make sure the leather hugs the blade well.
Once all that is done, set the blade aside to dry but keep checking on it every 5 minutes to ensure the leather is molding in the right way and the clips are not coming off. The aim here is to force the leather to take that new shape once it has dried.
Step Four: Trimming the Sheath
With the shape formed, now it is time to trim the edge of the sheath and get rid of the irregularly shaped parts to create a near smooth curve starting from the hilt all the way to the tip of the blade. Remember, all this is done with the blade inside to give you an idea of where to trim and the space needed to allow for movement. You may have to apply considerable pressure as the water-harden leather is usually tough even when using a sharp cutting tool.
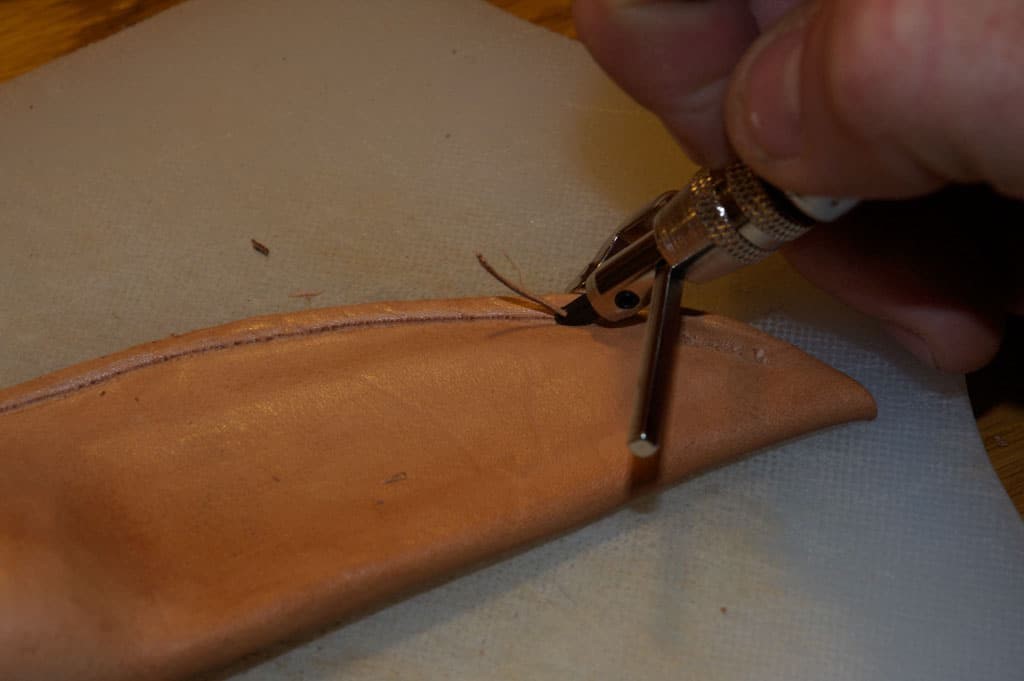
Step Five: Preparing the Stitching Lines
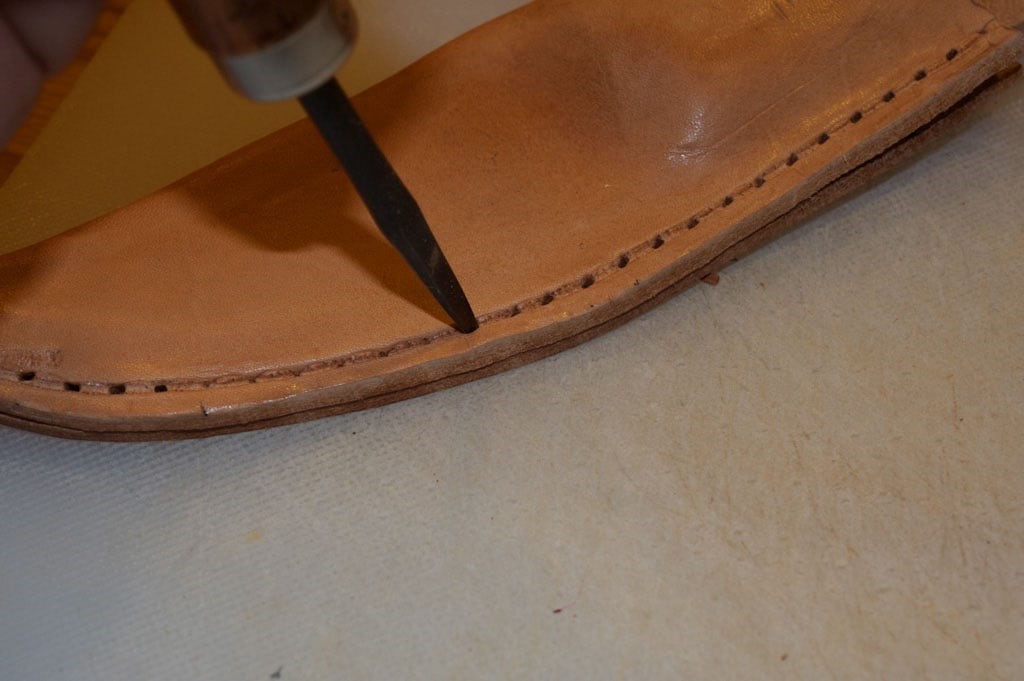
Once you have attained the curve you want, the next step would be to prepare the holes through which the seam will be made from. Use the rowel tool to punch in holes along the outer curve. The recommended number is six holes per inch at equal distances. You may not nail that last part well since you are not a machine but use your best judgement to make that possible. For those that may not have a rowel tool, undoing it by hand with a pointed tool can work, but you will have to find a way to apply the needed pressure to make those holes.
Once you have your clean holes on the top, flip the entire thing and repeat the same process for the other side. This time it should be easier as you simply enlarge the holes you made from the other side. This should be much faster compared to the other side as you will be following an already defined line.
Step Six: Sew the Loop into Place
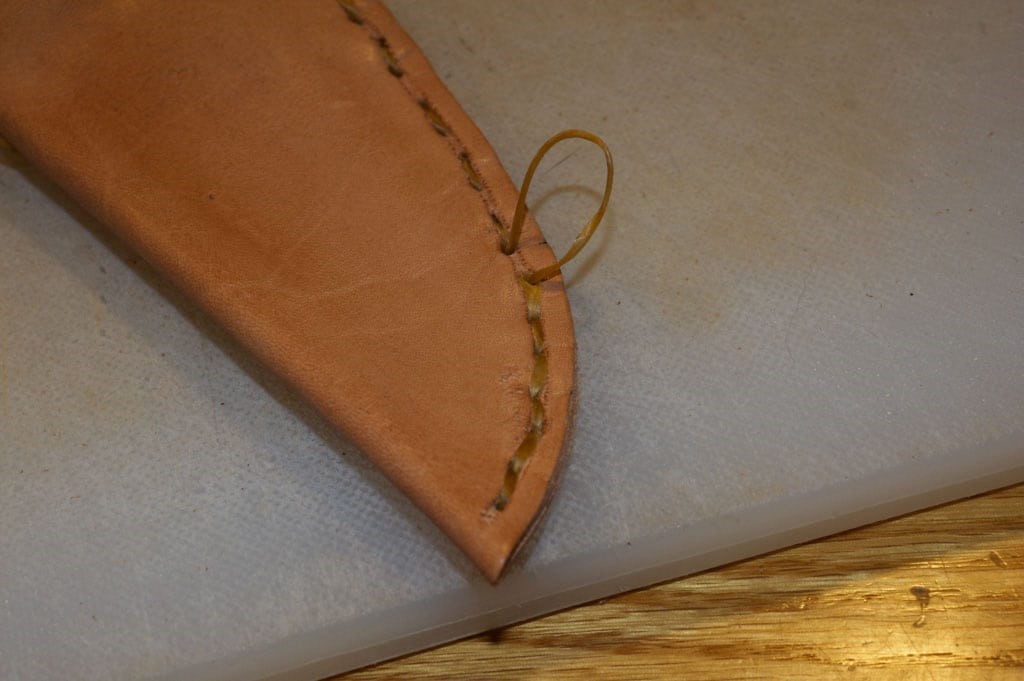
With the holes in place, the next stage is sewing the loop shut to make the sheath. This shouldn’t be a complicated process as all it needs is the threads to go from one end to the other and back several times for extra strength. You can use a single needle for this, working your way from one end to the other and back as many times as you want.
But you have to be careful not to overdo it as that will distort the shape of the sheath and make it unnecessarily heavy for nothing. The aim here is to make it a string strict that will not unravel when under pressure or when exposed to water. Make sure you tie the knots on the ends well and cut off any loose string. For added measure, burn the ends a little to melt the thread into itself to create a permanent seal.
Step Seven: Insert the Knife
With the sheath ready, it is time to insert your knife inside to see how it fits. If you want you can add a string around it that you can use to tie the sheath on your waistline so that it doesn’ drop when you walk around with it. However, that is just an added feature. What you already have can work just fine and can be carried in your pocket.
Why Sheaths are Necessary

Unlike folding knives, fixed blades stay exposed whether they are in use or not and this can be a hazard. Sheaths are the only way to ensure that they are well stored and protected from these elements. The following are some reasons why you need a sheath for your hunting knife.
- To make the knife safe when not in use. Exposed blades are dangerous and can lead to serious injuries if they are left unattended or unsecured.
- To protect the knife from the elements. Although most camping knives are made of high-quality materials that don’t tarnish or rust, it doesn't hurt to still protect them from being exposed to moisture and other elements when they are not in use.
- To add some style to the knife as an accessory. Sheaths come in very beautiful designs that can feature all kinds of patterns and engravings that add some style and swag to the knife you are carrying—a sure way of turning heads.
- For safe storage in the pockets or the bag as opposed to simply throwing an exposed blade into the back of the pocket. That could end up inflicting serious cuts on you or destroying the bag you are carrying.
Conclusion
Sheaths are important, and finding one for your fixed blade should be a priority. Many knives usually come bundled with them, but you are free to make your own if you have the time and the resources. For more information on knives and all the wonderful things you can do with them, check out our website for more tips.