An original knife made with a custom kit. It's my knife folding style How to make a beginner's edition ~ Nice knife life.
Explains in detail how to make a safety pocket knife kit made by scraping the handle. Based on the know-how that we have worked on in the workshop, we will explain the detailed points and procedures that are not written in the manual while making them.

It's my knife folding style, which I introduced the other day, is a limited edition model of Custom. The specifications are "Beginner", which is easy for beginners to work on, but I think many people are worried about whether they can do it.
Therefore, this time, I would like to explain detailed points and easy-to-make procedures that are not written in the manual, based on the know-how that I have been working on in the workshop.
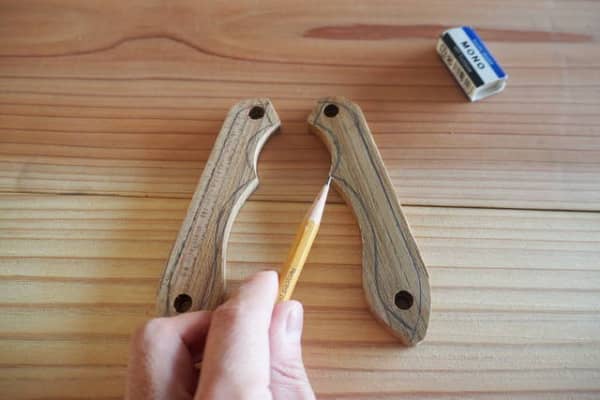
1. Draw a line that serves as a "standard for scraping"
A common question at workshops is "how much should I cut?"
It would be nice if you could cut it freely, but that would be anxious.
I would like to draw a guideline so that you can see how much you should cut.
(Hereafter, the photos are a Burmese teak model)
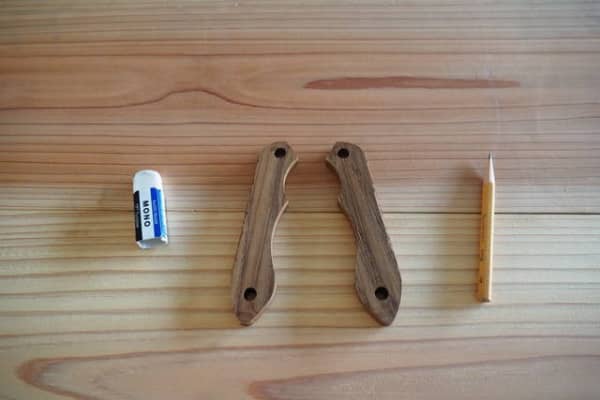
Draw a line aiming at a place about 5 mm from the outer shell. You can draw lines at regular intervals by using the middle finger of the hand holding the pencil as a guide as shown in the photo below.
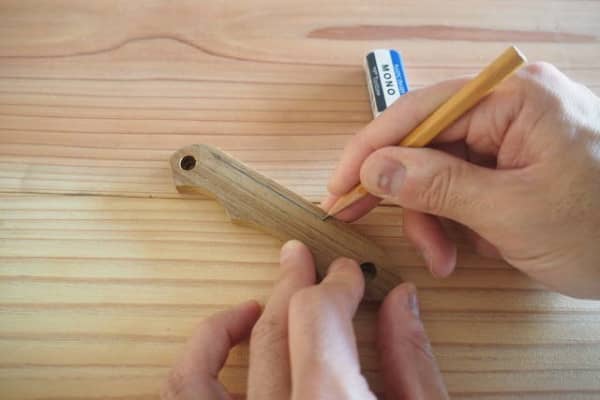
To give the shape a sharp look, in this example, as shown in the photo below, I will leave the points pointed by the pencil without scraping.
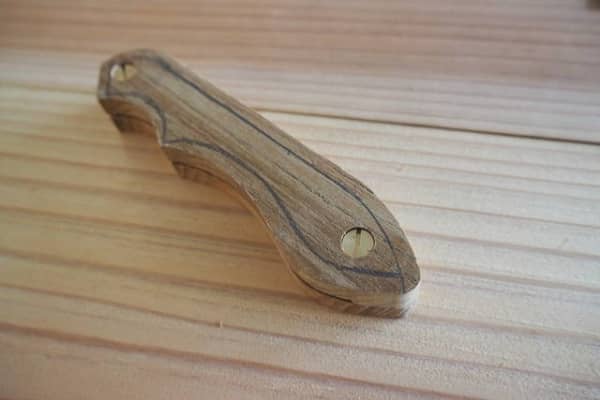
2. Temporarily fix the two plates with screws.
If you scrape two boards apart, you may accidentally scrape the backside (the side where the two boards meet). To prevent this, first temporarily fix the two pieces with screws.
Not only does this eliminate the worry of accidentally scraping the back, but it also allows you to create shapes while looking at the balance in the assembled state.
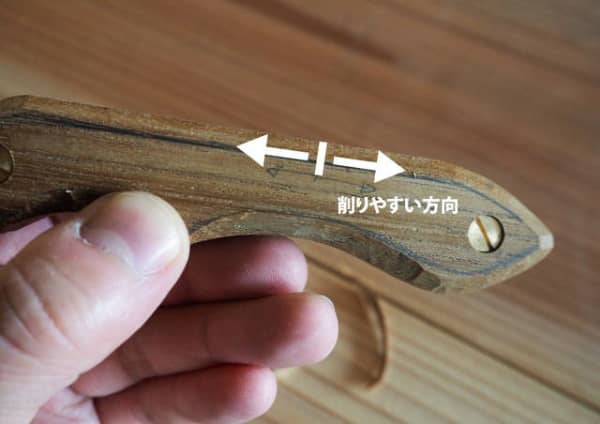
3. About the direction of scraping.
For details on how to shave wood, please refer to the "Points for shaving wood" explained last time.
I will review a little about the direction of shaving.
Shave from the forward direction as shown in the illustration above. It is difficult to determine the order, so try inserting a blade a little, and if you think that the resistance is large or the tree is likely to turn over, try cutting from the opposite side.
As you can see, the direction of the order differs depending on the tree, so it is the simplest to feel and judge.
4. Shave
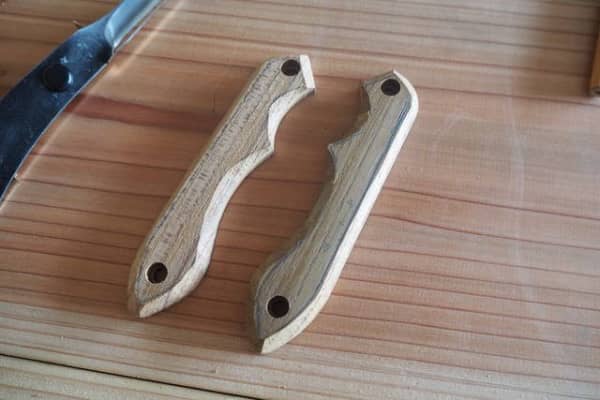
Follow the guide I wrote earlier and cut the corners at a 45-degree angle.
The curved part is cut toward the valley.
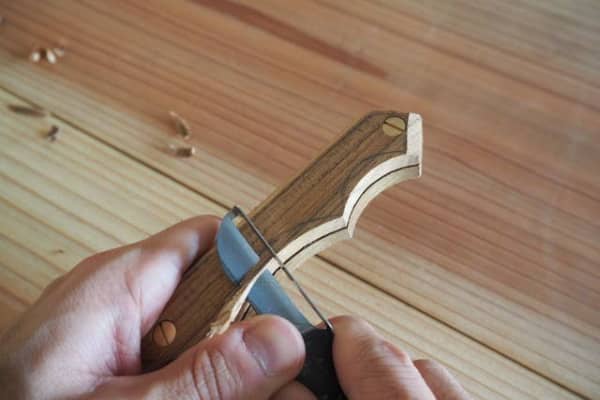
If you feel that your eyes have turned upside down, stop there and scrape from the other side.
There will be some steps at the boundary, but we will smooth it with sandpaper later.

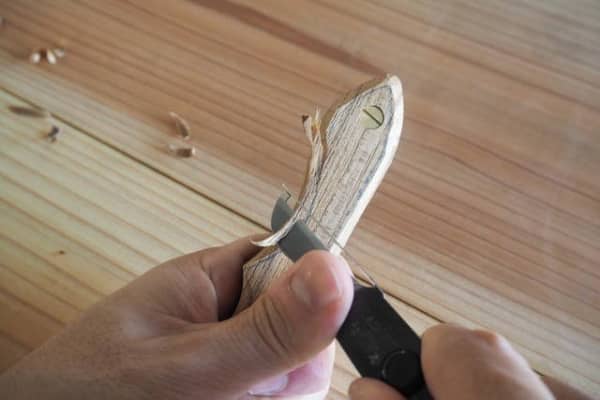
It is like this.
The straight part of the back has different directions depending on the tree. By the way, in the case of the woodcut this time, the direction of the order has changed from the place shown in the photo below.
As explained in the previous section, if you feel resistance to the feeding of the blade, try shaving from the opposite side.
As a guide, the width of the surface with the corners dropped is about 8 mm.
After shaving the entire circumference according to the guide, I wrote at the beginning, I will further reduce the corners and round the whole.
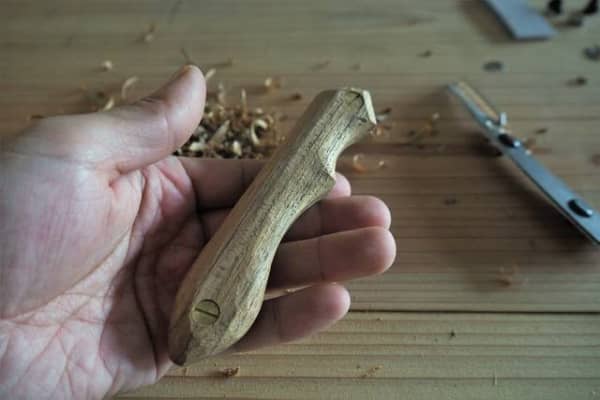
This completes the scraping process!
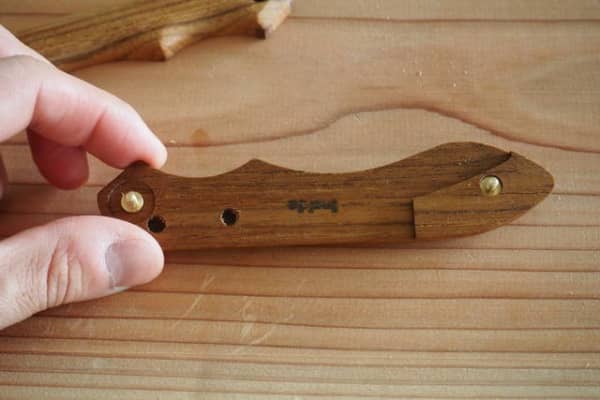
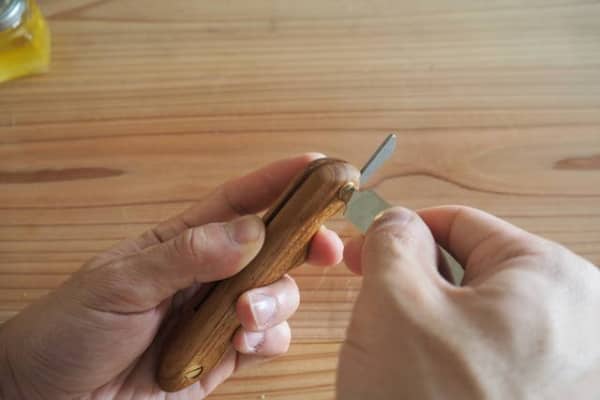
By the way, the production knife with a safety guard is included in the custom limited model used this time.
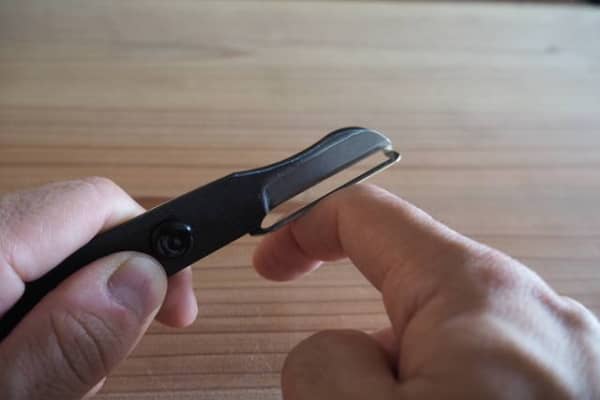
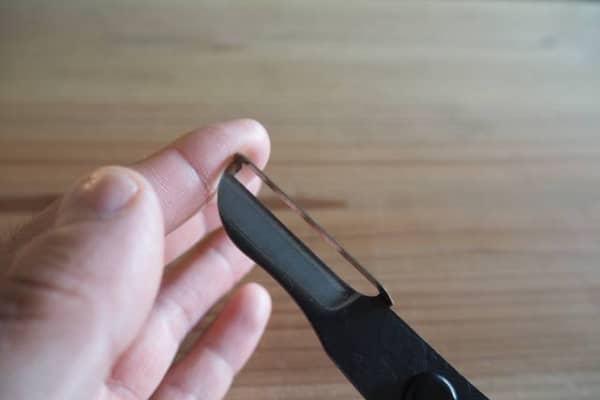
In this way, the specifications reduce the risk of accidentally cutting or stabbing your finger.
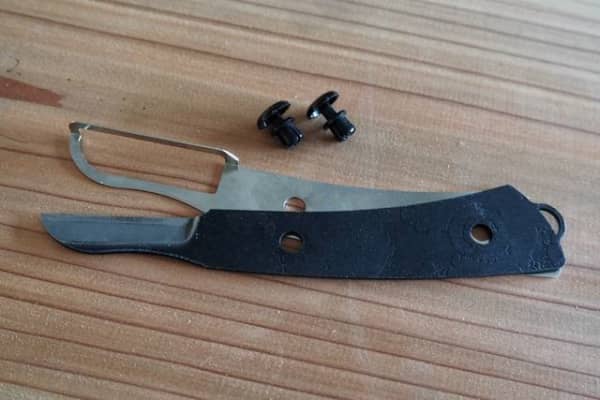
It can be attached and detached with push rivets, so if you get used to handling blades and feel that the guard is in the way, you can remove it like this!
It can also be purchased separately as a knife with a handle material as a set.
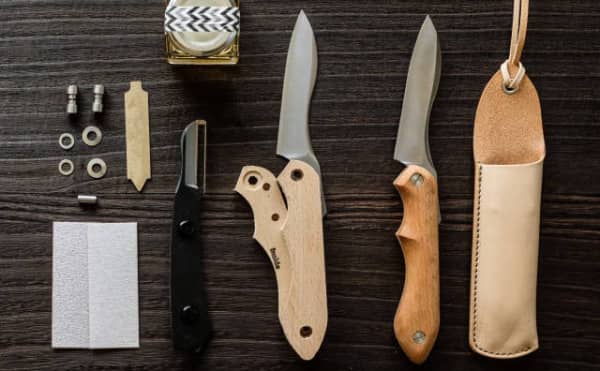
M-102A-S It's my knife + Safety Guard
It's my small pocket knife A kit that includes a magnolia obovate and a removable safety guard. The safety guard has the same shape as a knife, and the blade can be guarded by stacking it with the knife. When scraping the handle material, use it by fixing it to the sword with the attached rivet, and after the handle is completed, you can use it by sandwiching the handle with the sword and screwing it.
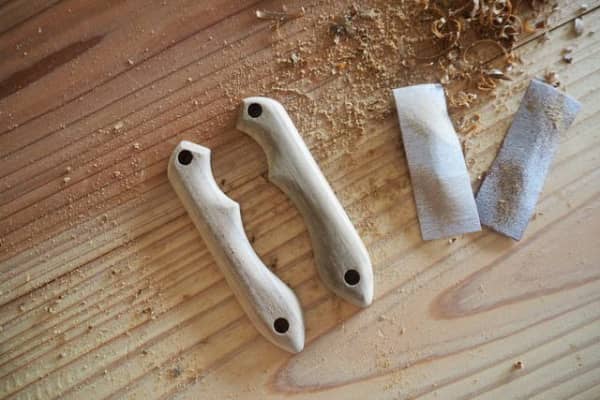
5. Sandpaper
Along the grain, use # 100 sandpaper to smooth the surface irregularities.
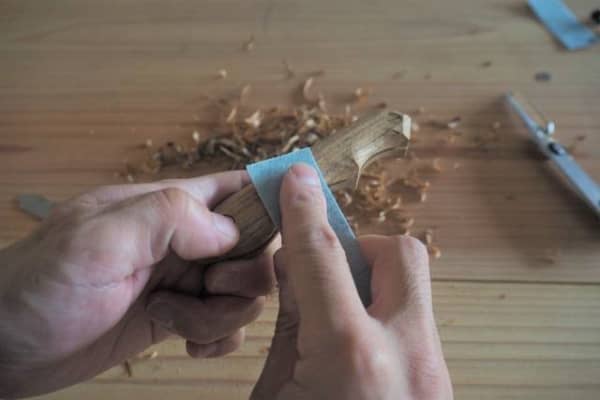
When the unevenness disappears, polish the surface smoothly with # 240.
After finishing the whole with sandpaper # 240, moisten it with water.
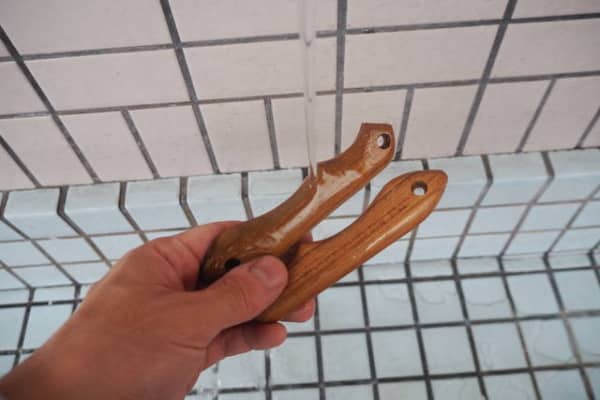
By wetting it with water, you can make fine fluffy trees float.
After making it fluffy, finish it with # 240 again.
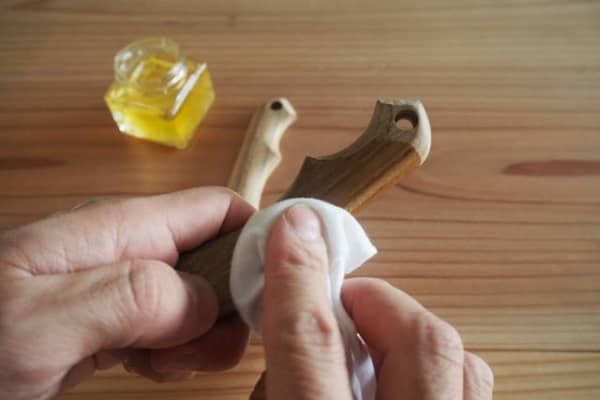
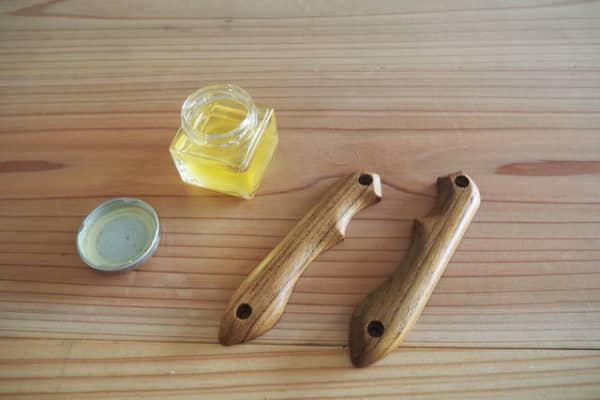
6. Apply oil
To finish, apply the walnut oil that comes with the custom limited set to the entire surface.
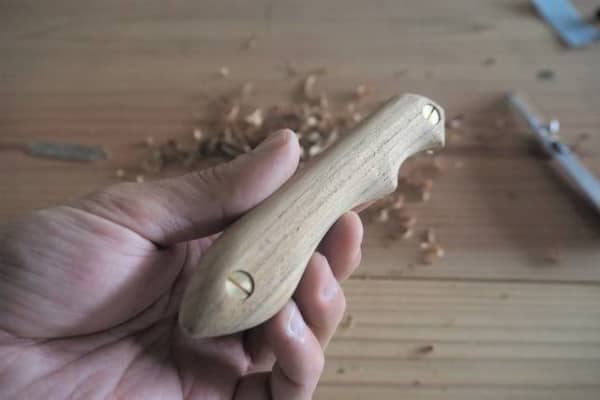
7. Assembled and completed
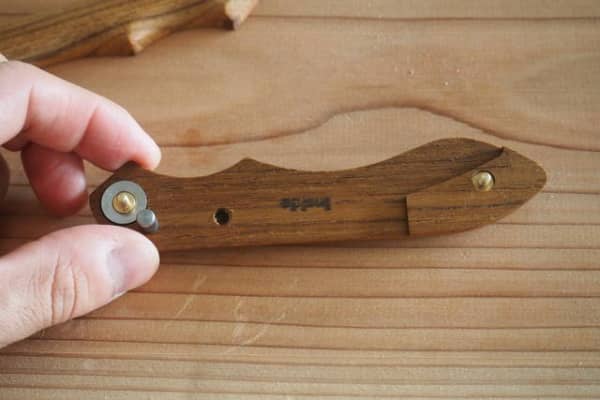
Set the male screw on one side of the handle material (the one with the notch).
From the bottom, set the washer and the disc spring in this order, and set the parallel pin at the position shown in the photo below.
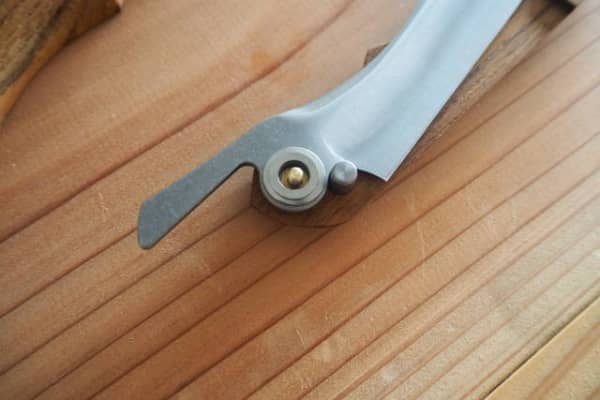
Place the blade in the stowed position.
Place the disc spring and washer on the blade as shown in the photo.
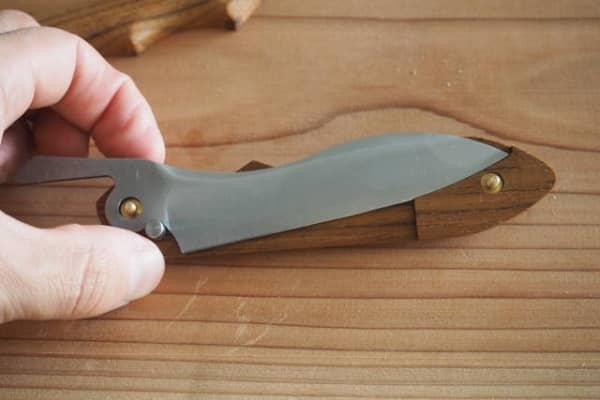
Set it so that it covers the other handle material, and screw it in to complete.
Due to the effect of the disc spring, the hardness of the opening and closing of the blade can be adjusted by tightening the screw.
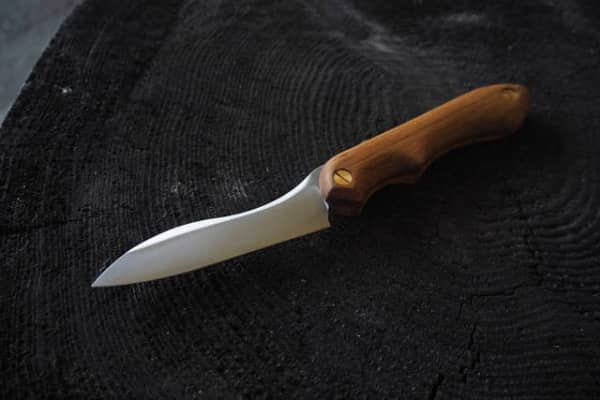
Burmese teak model
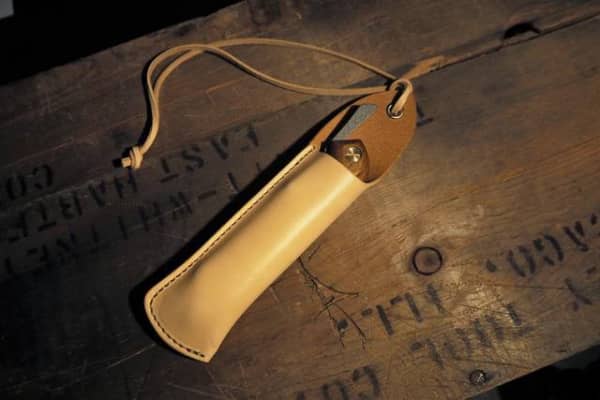
It also fits the knife case that comes with the custom limited set.
Even if the outer shape is the same, the impression will change just by changing the cutting method as shown in the photo below.
The production process introduced this time is just an example, so please add your originality and make only one original knife in the world!
About custom limited set
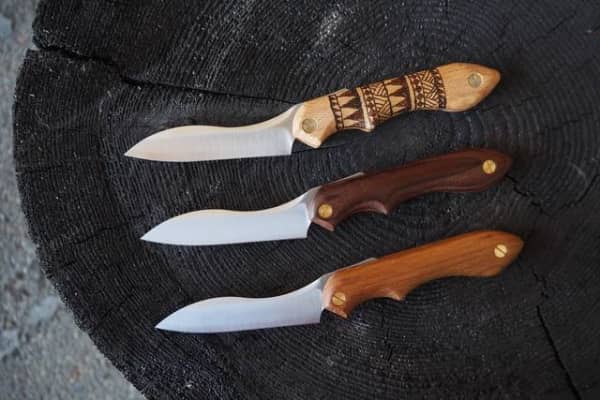
From the top, the photo shows Django, Thermo Ash, and Burmese Teak. The bottom two are custom limited handle materials.
As it is fair-skinned, it can be patterned with wood burning as shown in the photo, and the finish with stains and oil is beautiful, so you can enjoy various arrangements.
Thermo ash with deep color and beautiful wood grain that is resistant to water due to high-temperature drying by heat and steam.
And Burma teak, which is said to be this teak and is a world-class tree in Asia that is distinguished from the planted teak of Indonesia and Malaysia.
Each is an attractive material.
It’s my knife folding style the feature of the beginner's edition is that it is easy to work on, but even if you take the time to make it, you will be attached to it.
Please take this opportunity to challenge yourself!
Subscribe to Shieldon (OEM knife manufacturers) channels and we will share useful articles every week.
https://www.facebook.com/ShieldonCutlery
https://www.instagram.com/shieldon_knives_and_tools/
https://www.youtube.com/channel/UC_Dz--HODWHFY4AaUF0z11Q
https://twitter.com/Shieldonknives1/
https://shieldonknivesandtools.tumblr.com/
https://www.linkedin.com/company/72285346/
https://www.pinterest.com/shieldonknivesandtools/
More video introductions:
https://www.youtube.com/watch?v=SdoMON7UWDM
https://www.youtube.com/watch?v=jSHeW19aDUw
Article source: An original knife made with a custom kit. It's my knife folding style How to make a beginner's edition ~ Nice knife life. - Shieldon